PPR (Polypropylene Random Copolymer) pipes are a popular choice for plumbing and piping systems due to their durability, flexibility, and resistance to corrosion. Properly joining PPR Pipe is crucial for creating a leak-free, reliable system. This guide will walk you through 13 essential steps to join PPR pipes effectively.
Understanding PPR Pipe
Before diving into the joining process, it’s important to understand what PPR pipes are and why they are used. PPR pipes are lightweight, easy to handle, and have excellent thermal stability, making them suitable for both hot and cold water applications. They are often used in residential plumbing, irrigation systems, and industrial applications.
Benefits of Using PPR Pipe
- Durability: PPR pipes have a long lifespan and can withstand high pressures.
- Corrosion Resistance: Unlike metal pipes, PPR does not rust or corrode.
- Easy Installation: The joining process is straightforward, even for DIY enthusiasts.
- Cost-Effective: PPR pipes are generally less expensive than other types of piping.
Step 1: Gather Your Tools and Materials
To begin your project, ensure you have all the necessary tools and materials:
- PPR pipes: Choose the appropriate diameter for your application.
- PPR fittings: Elbows, tees, and other connectors.
- PPR pipe cutter: For clean, straight cuts.
- Heat fusion machine or hot air gun: For fusing pipes and fittings.
- Measuring tape: To measure lengths accurately.
- Marker: For marking cut points.
- Safety goggles and gloves: For protection during the process.
Step 2: Measure and Mark
Accurate measurement is crucial when joining PPR pipes. Use a measuring tape to determine the lengths of pipe you need. Mark your cutting points clearly with a marker.
Tips:
- Double-check your measurements before cutting.
- Account for the fitting depth when measuring.
Step 3: Cut the PPR Pipe
Using a PPR pipe cutter, carefully cut the pipe at the marked points. Ensure that the cut is straight to facilitate a proper seal when joining the pipes. Avoid saws, as they can create rough edges that may cause leaks.
Step 4: Deburr the Edges
After cutting, use a deburring tool or a utility knife to smooth out the edges of the cut pipe. This step is crucial, as rough edges can prevent a proper fusion during the joining process.
Step 5: Clean the Pipes
Before proceeding, clean the ends of the PPR pipes and the fittings with a cloth to remove any dust or debris. This ensures a better bond during the fusion process.
Step 6: Heat the Pipe and Fitting
Set your heat fusion machine to the recommended temperature, usually around 260°C (500°F). Insert the end of the PPR pipe and the fitting into the fusion machine simultaneously for the appropriate amount of time (typically 5-10 seconds).

Tip: Always follow the manufacturer’s guidelines for heating times.
Step 7: Join the Pipe and Fitting
Once heated, quickly remove the pipe and fitting from the heat source. Immediately join them together, twisting slightly as you push them in to ensure a uniform fusion. Hold them in place for a few seconds to allow the material to cool and solidify.
Step 8: Check for Alignment
After the fusion process, ensure that the pipe and fitting are aligned correctly. Misalignment can cause stress and lead to future leaks. Adjust if necessary while the material is still pliable.
Step 9: Allow to Cool
Let the joined sections cool undisturbed for about 5-10 minutes. This cooling period is essential for ensuring a strong bond. Avoid applying pressure or movement during this time.
Step 10: Inspect the Joint
Once cooled, inspect the joint for any signs of improper fusion, such as gaps or uneven surfaces. A good joint will be smooth and free from visible defects.
Step 11: Test the System
Before putting your PPR pipe system into full service, conduct a pressure test to ensure there are no leaks at the joints. This is critical for verifying the integrity of your installation.
Tip: Consider using a pressure gauge to measure and confirm stability.
Step 12: Insulate the Pipes
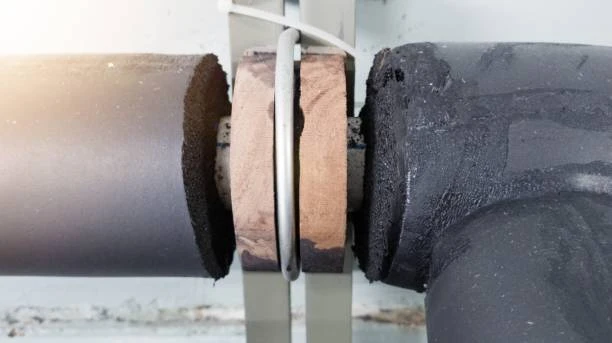
In colder climates, consider insulating your PPR pipes to prevent freezing and ensure optimal performance. Use foam insulation sleeves or wraps specifically designed for PPR pipes.
Step 13: Document Your Work
After completing your installation, document the process and any measurements taken. This record will be valuable for future maintenance or repairs.
Conclusion
Joining PPR Pipe is a straightforward process that can be accomplished with the right tools and techniques. Following these 13 steps will help ensure a reliable and leak-free plumbing system. Remember to prioritize safety and precision throughout the installation.
FAQs
- What is PPR pipe used for? PPR pipes are commonly used for hot and cold water plumbing, irrigation systems, and industrial applications due to their durability and corrosion resistance.
- Can I join PPR pipes without a heat fusion machine? While a heat fusion machine is recommended for optimal results, some specialized PPR fittings may allow for mechanical connections. However, these are less common.
- How long do PPR pipes last? PPR pipes can last over 50 years if installed correctly and maintained properly.
- Are PPR pipes safe for drinking water? Yes, PPR pipes are safe for drinking water and are often used in potable water applications.
- What should I do if I find a leak in my PPR pipe system? If you detect a leak, inspect the joint for signs of improper fusion. You may need to reheat and refit the joint, or in some cases, replace the affected section.


