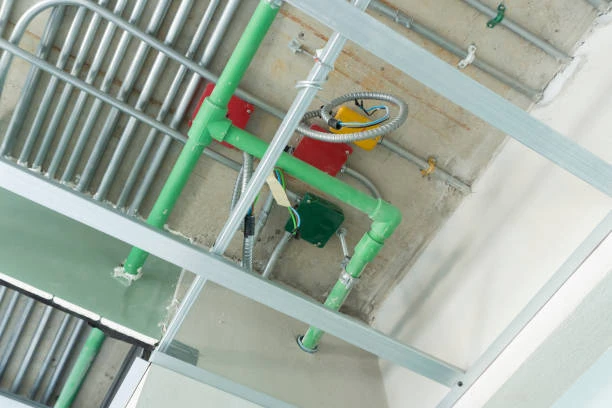
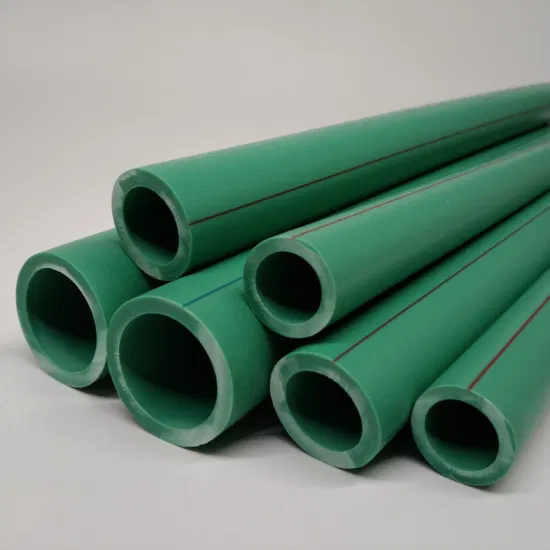
Introduce PPR Pipe
PPR pipes (Polypropylene Random Copolymer) are popular in plumbing due to their durability and resistance to corrosion. When it comes to managing water flow in your plumbing system, installing PVC valves on PPR Pipe can be crucial. This article will guide you through the installation process and offer tricks for quick repairs when punctures occur.
1. Understanding PPR Pipe and PVC Valves
Before diving into installation, let’s clarify what PPR pipes and PVC valves are.
- PPR Pipes:
These pipes are lightweight, flexible, and resistant to high temperatures and pressures. They are commonly used for hot and cold water systems. - PVC Valves:
PVC (Polyvinyl Chloride) valves control the flow of liquids in a plumbing system. They are durable, cost-effective, and resistant to chemicals.
2. Tools and Materials Needed
Before you start the installation, gather the following tools and materials:
- Tools:
- Pipe cutter or saw
- Measuring tape
- Marker
- Heat gun (for PPR pipes)
- Wrench
- Screwdriver
- Materials:
- PPR pipes
- PVC valve (sized to fit your pipe)
- PVC cement or adhesive
- PPR pipe fittings (if needed)
- Thread tape (optional for threaded connections)
3. Preparing the PPR Pipe
To ensure a secure connection between the PVC valve and the PPR pipe, follow these steps:
- Measure and Mark:
Use a measuring tape to determine the length of PPR pipe required. Mark it with a marker for cutting. - Cut the Pipe:
Use a pipe cutter or saw to cut the PPR pipe cleanly. Ensure the cut is straight to allow for a better fit with the valve. - Deburr the Edges:
Smooth any rough edges using a deburring tool or sandpaper to prevent damage to the seal during installation.
4. Installing the PVC Valve
Now, let’s install the PVC valve onto the PPR pipe.
- Heat the PPR Pipe (if using heat fusion):
If you’re using heat fusion, heat the end of the PPR pipe with a heat gun until it becomes pliable. - Connect the PVC Valve:
Push the heated end of the PPR pipe into the valve’s socket. Hold it in place for a few seconds until it cools and sets. If using a fitting, ensure it aligns properly. - Use PVC Cement (if applicable):
If your PVC valve requires cement, apply a thin layer of PVC cement to both the valve and the pipe. Join them immediately, twisting slightly to ensure even coverage, and hold them together for about 30 seconds. - Allow to Cure:
Let the connection cure for the time recommended by the adhesive manufacturer before pressurizing the system.

5. Securing the Connection
To ensure a leak-free connection:
- Check Alignment:
Ensure the valve is aligned correctly with the direction of water flow. This is crucial for proper functioning. - Use Thread Tape (if applicable):
For threaded connections, wrap thread tape around the male threads before screwing them into the valve. This will help create a watertight seal.
6. Testing the Installation
Once installed, it’s important to test the connection:
- Turn on the Water Supply:
Slowly turn on the water supply and check for leaks around the valve and fittings. - Observe Flow:
Open the valve to ensure it operates smoothly and there are no obstructions.
7. Tricks to Quickly Repair the Plumbing System When Punctured
Even the best plumbing systems can develop punctures. Here are some quick repair tricks to address leaks effectively.
- Temporary Fix with Pipe Wrap:
If you notice a puncture, wrap the affected area with a strong adhesive tape or a rubber patch as a temporary solution. This can hold until you make a permanent fix. - Using a Compression Fitting:
For small punctures, you can cut out the damaged section and use a compression fitting to join the remaining pipe sections. This requires cutting the pipe neatly and using the fitting to create a new joint. - Heat Shrink Sleeve:
For a more durable temporary repair, consider using a heat shrink sleeve. Place it over the punctured area and apply heat to seal it securely. - PPR Pipe Repair Kit:
Invest in a PPR pipe repair kit that includes everything needed to make repairs quickly, such as clamps, patches, and adhesive. - Epoxy Putty:
For quick sealing, epoxy putty can be molded over the puncture. Ensure the surface is clean and dry before applying. Allow it to cure as per the manufacturer’s instructions.
8. Preventive Measures
To minimize the chances of punctures in the future:
- Regular Inspections:
Regularly inspect your plumbing system for signs of wear and tear, such as cracks or leaks. - Avoid Excessive Pressure:
Ensure your plumbing system operates within recommended pressure levels. Excessive pressure can lead to leaks and punctures. - Proper Installation:
Always ensure proper installation of fittings and valves to prevent stress on the pipes.
9. Professional Help
If you encounter significant leaks or extensive damage, it’s advisable to consult a professional plumber. They have the expertise and tools to diagnose and fix complex plumbing issues effectively.
10. Conclusion
Installing a PVC valve on PPR Pipe is a straightforward process that can enhance the functionality of your plumbing system. Additionally, knowing how to quickly repair punctures can save time and prevent water damage. By following these steps and tricks, you can ensure a reliable and efficient plumbing system for your home or business.
FAQs PPR Pipe
1. Can I use PVC valves on PPR pipes?
Yes, PVC valves can be used on PPR pipes, provided they are properly installed using suitable adhesives or fittings.
2. What should I do if I find a puncture in my PPR pipe?
For small punctures, you can use adhesive tape or epoxy putty for a temporary fix. For more extensive damage, consider cutting out the damaged section and using a compression fitting.
3. How do I prevent punctures in PPR pipes?
Regular inspections, avoiding excessive pressure, and ensuring proper installation can help prevent punctures in PPR pipes.
4. Is it necessary to hire a plumber for installing PVC valves?
While installation can be done DIY, hiring a plumber ensures proper installation and helps avoid potential issues.
5. How long does PVC cement take to cure?
Curing times can vary, but generally, it’s advisable to wait at least 30 minutes before turning on the water supply and up to 24 hours for full strength.


