Introduce PPR Pipe
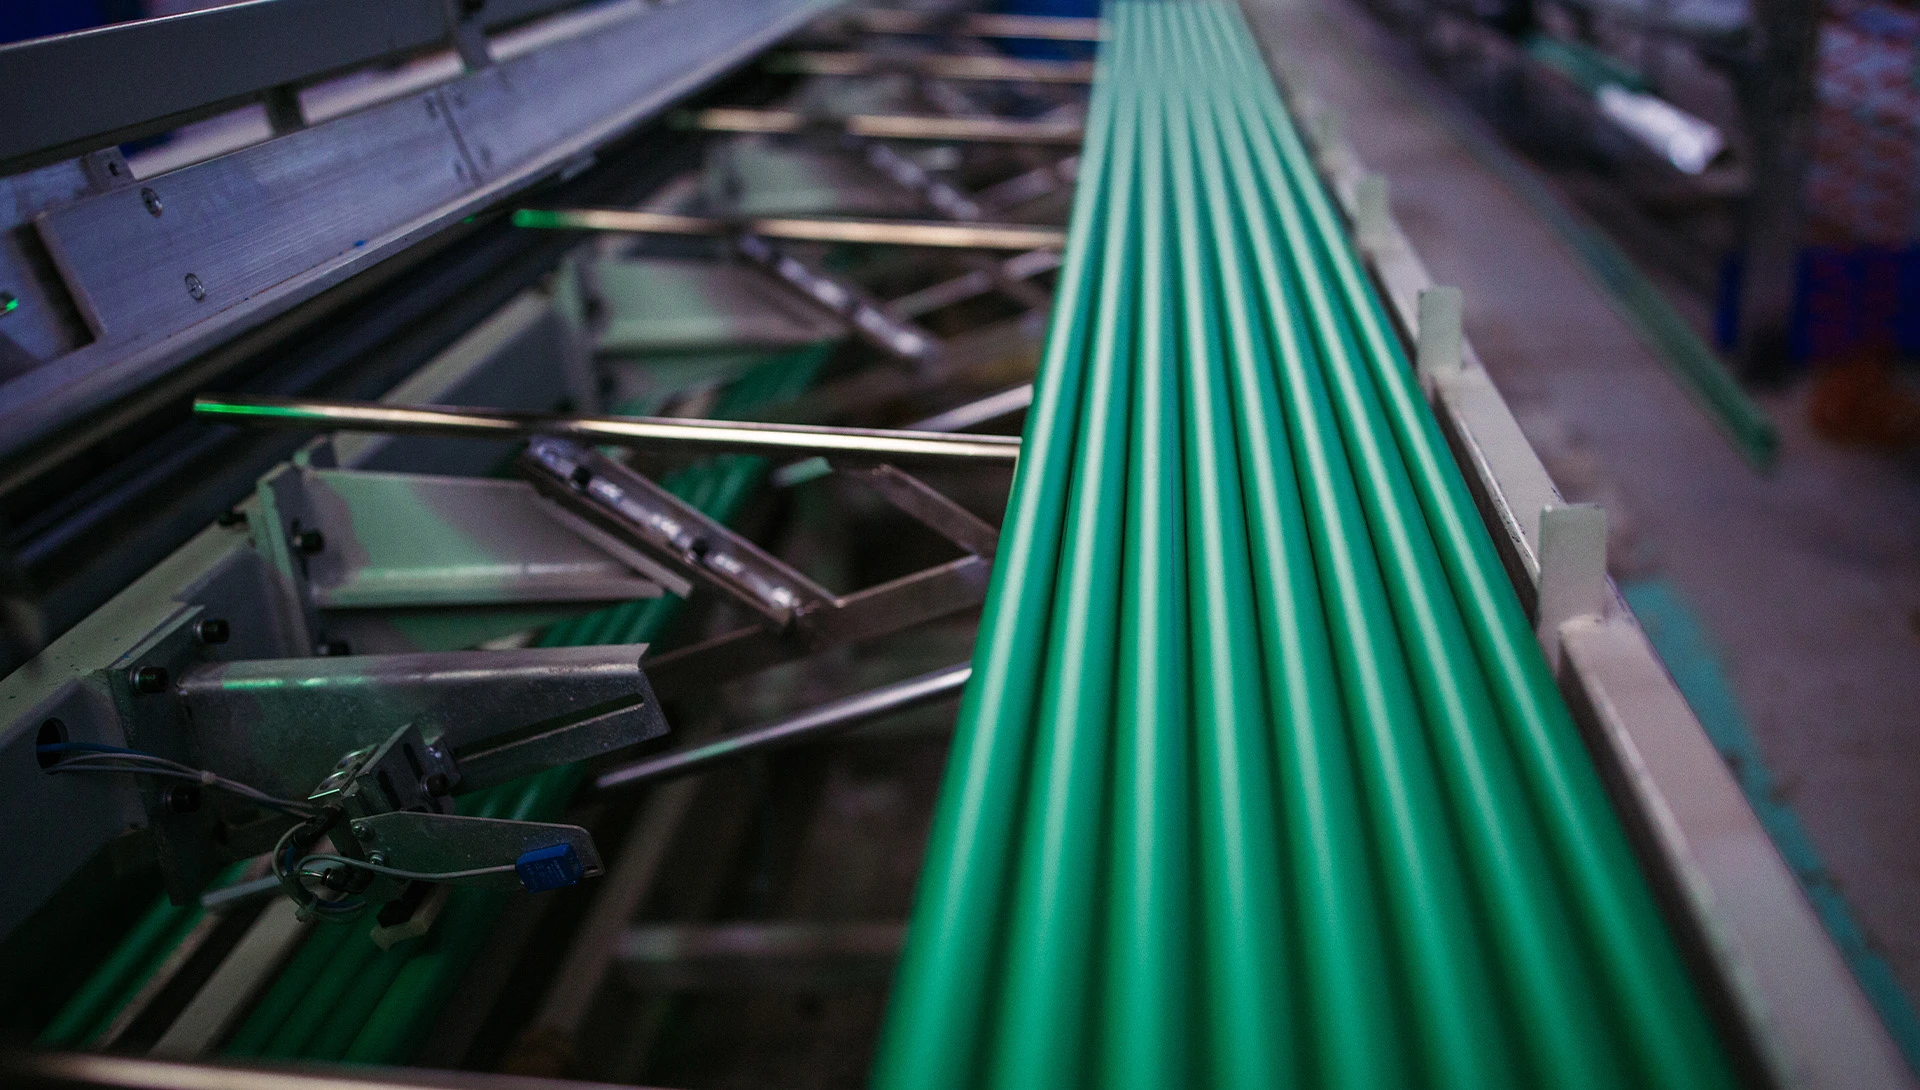
PPR (Polypropylene Random Copolymer) pipe fittings have become a staple in modern plumbing due to their durability, resistance to corrosion, and ease of installation. However, to maximize their benefits, it’s essential to understand the best practices for joining these pipes effectively. This article will delve into practical tips and tricks for working with PPR Pipe joints, ensuring a reliable and leak-free plumbing system.
Understanding PPR Pipe and Fittings
PPR pipes and fittings are widely used in various plumbing applications, from residential systems to industrial setups. They are known for their:
- Thermal Stability: Capable of withstanding high temperatures, making them suitable for hot and cold water applications.
- Chemical Resistance: PPR fittings resist a range of chemicals, ensuring their integrity in various environments.
- Lightweight Design: Easier to handle and install compared to traditional metal pipes.
- Longevity: With a lifespan of over 50 years, PPR pipes require minimal maintenance.
Essential Tools for PPR Pipe Installation
Before diving into tips and tricks for joining PPR pipes, it’s important to gather the necessary tools:
- Pipe Cutter: A clean cut is crucial for a good joint.
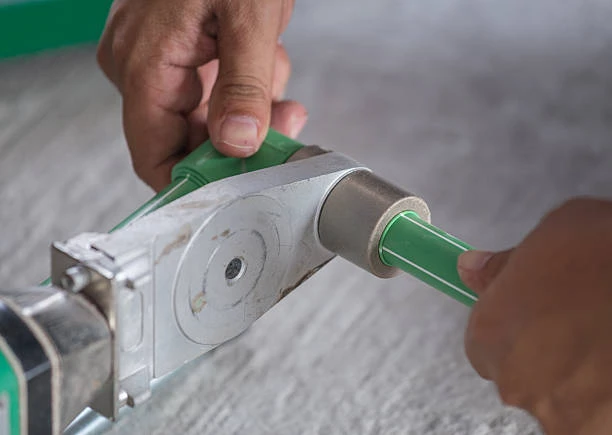
- Heat Fusion Tool: Used to heat the pipe and fitting for a secure joint.
- Measuring Tape: For accurate measurements before cutting.
- Deburring Tool: To smooth the edges after cutting.
- Safety Gear: Gloves and goggles to protect against heat and debris.
Tips for Joining PPR Pipe
1. Proper Measurement and Cutting
Accurate measurements are the foundation of a successful PPR pipe installation. Follow these steps:
- Measure Twice, Cut Once: Use a measuring tape to ensure you have the correct length. Take into account any fittings or joints that will be attached.
- Use a Quality Pipe Cutter: A pipe cutter provides a clean, straight cut, which is essential for a proper fit. Avoid using saws, as they can create rough edges that may lead to leaks.
2. Deburring the Pipe Ends
After cutting the pipe, deburring is essential:
- Smooth the Edges: Use a deburring tool to remove any rough edges on the cut pipe. This step prevents damage to the fitting and ensures a better seal.
- Clean the Surface: Ensure the ends of the pipes are clean and free from dust or debris. Contaminants can interfere with the heat fusion process.
3. Heating the Pipe and Fitting
Heat fusion is the method used to join PPR pipes and fittings. Here’s how to do it effectively:
- Use the Right Temperature: The heating tool should reach approximately 260°C (500°F). It’s essential to follow the manufacturer’s guidelines for your specific tools.
- Heat Evenly: Insert the pipe and fitting into the heating tool simultaneously, allowing them to heat evenly for the recommended time (usually around 10-15 seconds).
- Avoid Overheating: Do not overheat the pipes, as this can cause deformation. Monitor closely to achieve the right temperature without exceeding it.
4. Joining the Pipe and Fitting
Once heated, the joining process is crucial:
- Insert Quickly: After heating, quickly remove the pipe and fitting from the heat source and join them together while they are still pliable.
- Twist Slightly: A slight twisting motion can help ensure an even distribution of the melted material, enhancing the bond.
- Hold in Place: Maintain pressure on the joint for about 10-15 seconds until it begins to cool and solidify.
5. Cooling Time
Allow adequate cooling time for the joint:
- Do Not Disturb: Once the joint is made, avoid moving it for at least 10-15 minutes. This ensures that the bond forms correctly.
- Perform a Visual Check: Inspect the joint for any visible gaps or misalignment once it has cooled.
6. Testing for Leaks
After installation, it’s essential to test for leaks:
- Pressurize the System: Gradually introduce water into the system and check each joint for leaks.
- Monitor for Drips: Look for any signs of moisture around the joints. If leaks are detected, address them promptly.
PPR Pipe Advanced Tips and Tricks
In addition to the basic tips, here are some advanced techniques to enhance your PPR pipe installations:
1. Using PPR Pipe Supports
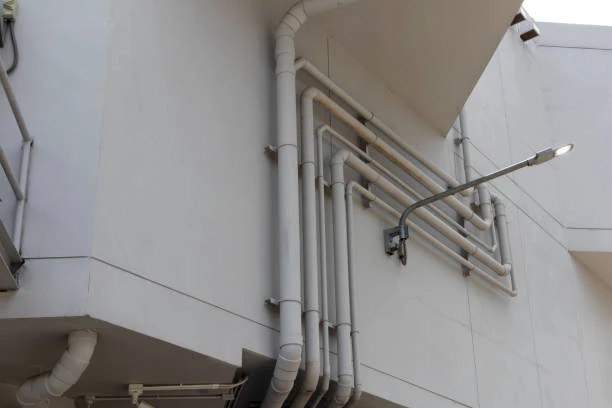
- Support Long Runs: When installing long runs of PPR piping, use pipe supports or brackets to prevent sagging, which can stress joints and lead to leaks.
- Thermal Expansion Considerations: Allow for thermal expansion by using flexible supports or leaving space between fixed points.
2. Temperature Considerations
- Consider Ambient Temperature: PPR pipes can expand and contract with temperature changes. In extreme conditions, consider using expansion fittings to accommodate movement.
3. Using Pipe Insulation
- Prevent Heat Loss: For hot water systems, insulating the pipes can reduce energy costs and prevent heat loss.
- Protect from Freezing: In colder climates, insulation can also protect PPR pipes from freezing.
4. Combining PPR with Other Materials
- Adaptability: PPR fittings can be joined with other materials using appropriate transition fittings. Ensure you follow manufacturer guidelines for compatibility.
- Use Threaded Adaptors: If transitioning to metal pipes, use threaded adaptors to create a secure connection.
5. Regular Maintenance Checks
- Inspect Periodically: Schedule regular inspections of your PPR pipe systems to identify potential issues before they become serious problems.
- Look for Signs of Wear: Check for discoloration, leaks, or any signs of wear, especially around joints.
Conclusion PPR Pipe
PPR pipe fittings are a reliable choice for modern plumbing systems, offering durability, ease of installation, and resistance to corrosion. By following the tips and tricks outlined in this article, you can ensure secure and leak-free joints, maximizing the benefits of PPR pipes in your plumbing projects. Proper installation and maintenance will lead to a long-lasting plumbing system that meets your needs.
FAQs
- What are PPR pipes used for? PPR pipes are used for hot and cold water supply, irrigation systems, and industrial applications due to their durability and resistance to corrosion.
- How do you join PPR pipes? PPR pipes are joined using heat fusion, where both the pipe and fitting are heated before being pressed together to create a strong bond.
- What tools are necessary for installing PPR pipes? Essential tools include a pipe cutter, heat fusion tool, measuring tape, deburring tool, and safety gear.
- Can PPR pipes be used with other materials? Yes, PPR pipes can be combined with other materials using appropriate transition fittings and threaded adaptors.
- How long do PPR pipes last? PPR pipes can last over 50 years with proper installation and maintenance, making them a cost-effective choice for plumbing systems.
