Installation Steps for PPR Pipe and Fittings
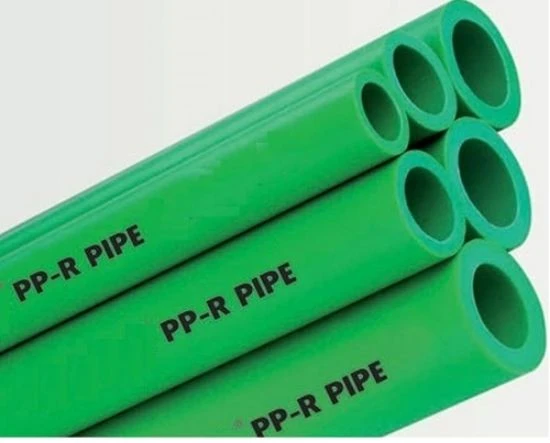
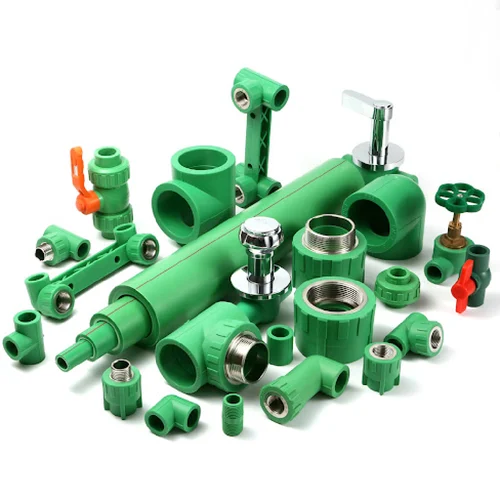
PPR pipes and fittings have become increasingly popular in plumbing and water supply systems due to their durability, resistance to corrosion, and ease of installation. Whether you’re a seasoned plumber or a DIY enthusiast, understanding the proper installation steps for PPR pipe and fittings is crucial for ensuring a reliable plumbing system. This article outlines the essential steps for installing PPR pipes and fittings effectively.
Benefits of PPR Pipes and Fittings
- Durability: PPR pipes resist impact and corrosion, offering a long service life.
- Temperature Resistance: They can handle high temperatures, making them suitable for hot water systems.
Installation Steps for PPR Pipe and Fittings
Step 1: Gather Your Tools and Materials
Before starting your installation, ensure you have all the necessary tools and materials:
- PPR pipes and fittings
- Pipe cutter or saw
- Heat fusion tool (for socket fusion)
- Measuring tape
- Marker or chalk
- Safety goggles and gloves
Measure and Cut the Pipes
- Measure: Determine the lengths of PPR pipe required for your project. Use a measuring tape to get accurate measurements.
- Mark: Use a marker or chalk to mark the cutting lines on the pipe.
- Cut: Using a pipe cutter or saw, cut the PPR pipes at the marked lines. Ensure the cuts are straight to facilitate a proper connection.
Prepare the Fittings
- Clean the Ends: Before joining the pipes and fittings, clean the ends of the pipes and the interior of the fittings to remove any dust or debris.
- Inspect: Check for any visible damage or defects in the fittings. Avoid using damaged components to ensure a secure connection.
Heating the Pipes and Fittings (Socket Fusion Method)
- Heat the Tool: Plug in your heat fusion tool and allow it to reach the required temperature, typically around 260-270°C (500-518°F).
- Insert the Pipe: Insert one end of the cut PPR pipe into the heating element for the specified time (usually 5-7 seconds).
- Insert the Fitting: Similarly, heat the corresponding fitting for the same amount of time.
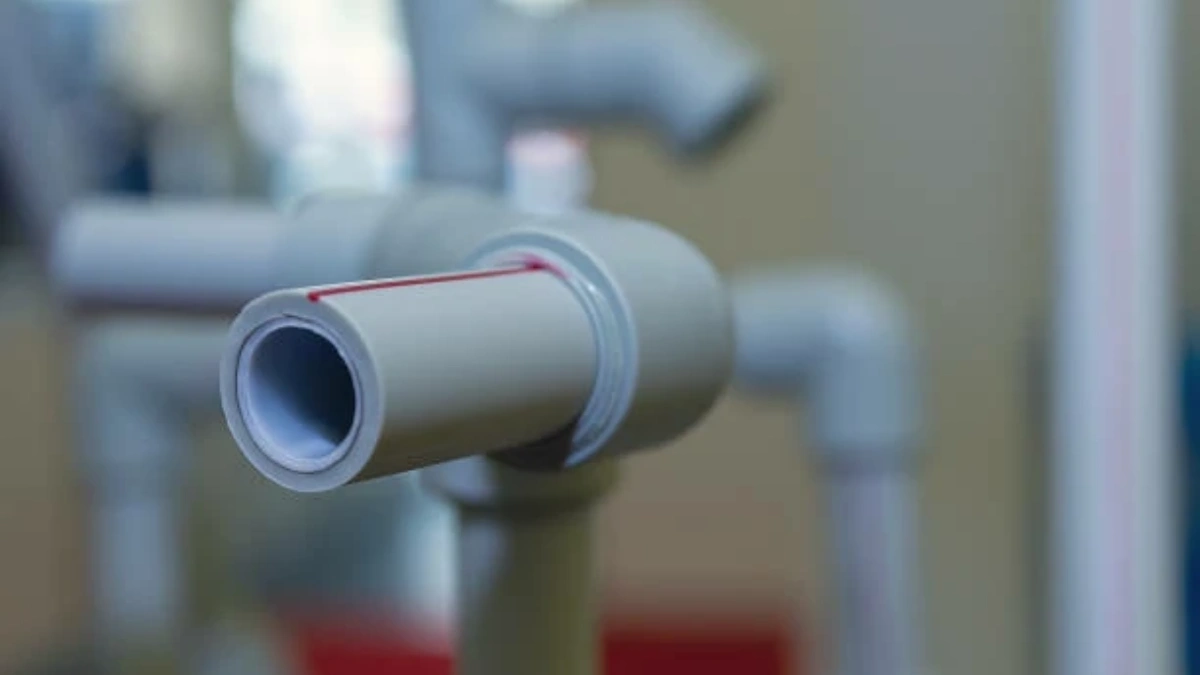
- Join the Pieces: Quickly remove both the pipe and fitting from the heating tool and immediately join them together. Twist slightly to ensure a good fit and hold them together for a few seconds to allow the joint to cool and set.
After joining the pipe and fittings, let the joints cool completely. This typically takes about 5-10 minutes. Avoid putting any stress on the joint during this cooling period to ensure a strong bond.
Step 6: Test the System
- Check for Leaks: Once the joints have cooled, turn on the water supply gradually and check for any leaks around the connections.
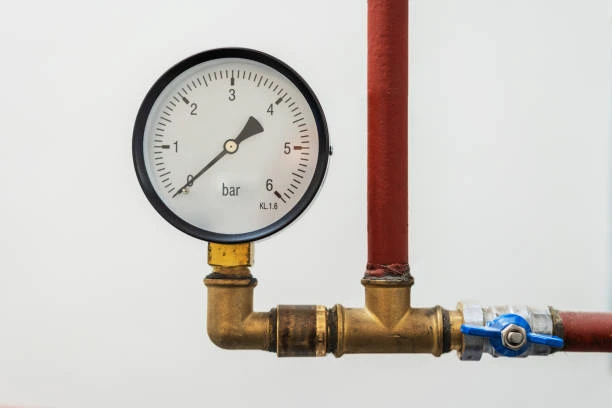
- Pressure Test: For larger systems, conduct a pressure test to ensure the integrity of the installation. Follow local codes and regulations for pressure testing procedures.
Conclusion
Installing PPR pipes and fittings can be a straightforward process with the right tools and techniques. By following these steps, you can ensure a durable and efficient plumbing system that will serve you well for years to come. Whether you’re upgrading your home’s plumbing or tackling a new construction project, PPR systems offer a reliable solution.
FAQs
- What are PPR pipes commonly used for?
- PPR pipes are used for hot and cold water supply, irrigation, and industrial applications.
- Can I install PPR pipes myself?
- Yes, with the right tools and guidance, PPR pipes can be installed by both professionals and DIY enthusiasts.
- What is the lifespan of PPR pipes?
- PPR pipes typically have a lifespan of over 50 years with proper installation and maintenance.
- Do PPR pipes require special fittings?
- Yes, PPR fittings are specifically designed to connect PPR pipes securely.
- How do I know if my PPR installation is successful?
- Check for leaks and conduct a pressure test to ensure the integrity of the installation.


