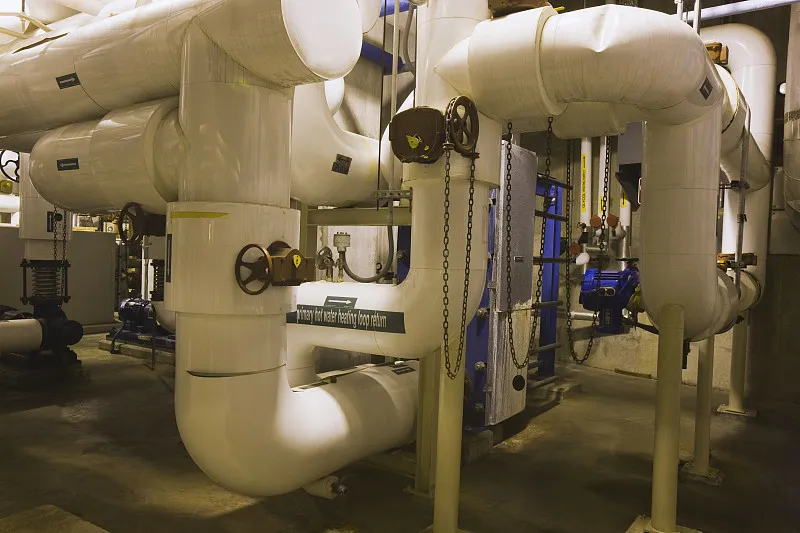
Introduction PPR Pipe
PPR (Polypropylene Random Copolymer) pipes have revolutionized plumbing systems due to their durability, efficiency, and ability to withstand high temperatures and pressures. However, like any other material, PPR Pipe can develop issues over time, especially when not installed or maintained correctly. One common problem homeowners face is a broken PPR pipe that cannot lock water, leading to leaks and inefficiencies. This article offers a step-by-step guide to repairing broken PPR pipes and ensuring your plumbing system operates smoothly.
Understanding the Problem: Broken PPR Pipe
What Causes a PPR Pipe to Break or Leak?
- Improper Installation
Incorrect welding or alignment during installation can weaken the pipe joints, causing leaks or cracks over time. - Excessive Pressure
PPR pipes are designed to handle high pressure, but exceeding the recommended limits can lead to bursts or joint failures. - Physical Damage
Accidental impacts during renovations or external forces can crack or break the pipe. - Aging and Wear
Although PPR pipes are highly durable, extended exposure to extreme conditions can eventually cause deterioration. - Improper Maintenance
Lack of regular inspections and maintenance can allow minor issues to escalate, leading to significant damage.
Signs Your PPR Pipe Cannot Lock Water
- Persistent dripping or visible water leakage.
- Reduced water pressure in faucets or showers.
- Damp spots or water stains on walls, floors, or ceilings.
- Unusual noises in the plumbing system, such as hissing or gurgling.
- An unexpected increase in your water bill.
Identifying these signs early can help you address the issue before it causes extensive damage.
Tools and Materials Needed for Repair
Before you begin repairing a broken PPR pipe, gather the following tools and materials:
- PPR pipe cutter or hacksaw
- Heat fusion welding machine
- Replacement PPR pipe and fittings
- Sandpaper or pipe deburring tool
- Measuring tape
- Marker pen
- Water-resistant sealant or epoxy resin (for temporary fixes)
- Safety gloves and goggles
Step-by-Step Guide to Repairing a Broken PPR Pipe
Step 1: Identify the Damaged Section
Locate the area where the pipe is leaking or broken. Turn off the main water supply to prevent further leakage during the repair process.
Step 2: Cut Out the Damaged Section
Using a PPR pipe cutter or hacksaw, carefully cut out the damaged section of the pipe. Ensure the cut edges are clean and straight.
Step 3: Prepare the Replacement Pipe
Measure the length of the removed section and cut a replacement PPR pipe to match. Smooth the edges using sandpaper or a deburring tool to remove any sharp edges or burrs.
Step 4: Heat Fusion Welding
- Heat the replacement pipe and the existing pipe ends using a heat fusion welding machine.
- Once the surfaces are evenly heated, quickly join the replacement pipe to the existing pipe.
- Hold the connection in place until it cools and forms a strong, leak-proof bond.
Step 5: Test the Repair
Turn on the water supply and check for leaks. If the repair is successful, the pipe should lock water effectively without any drips.

Temporary Fixes for Emergency Situations
If you cannot replace the damaged section immediately, consider these temporary solutions:
- Use Water-Resistant Epoxy Resin
Apply epoxy resin to the cracked or broken area to seal the leak temporarily. - Wrap with Waterproof Tape
Wrap the damaged section with waterproof tape as a short-term solution to prevent leakage. - Clamp the Pipe
Use a pipe clamp to secure the broken section until a permanent repair can be made.
Preventing Future Issues with PPR Pipe
- Ensure Proper Installation
Hire professional plumbers to install your PPR pipes correctly using heat fusion welding techniques. - Regular Inspections
Conduct routine checks on your plumbing system to identify potential issues early. - Monitor Water Pressure
Use pressure regulators to prevent excessive pressure that could damage the pipes. - Protect Pipes from Physical Damage
Avoid drilling or hammering near pipe installations to prevent accidental damage. - Replace Aging Pipes
If your PPR pipes show signs of wear and tear, consider replacing them to avoid unexpected failures.
Benefits of PPR Pipe in Plumbing Systems
- High resistance to temperature changes.
- Corrosion-free, ensuring long-term durability.
- Lightweight and easy to handle during installation.
- Non-toxic and safe for drinking water systems.
- Cost-effective over the pipe’s lifetime due to minimal maintenance needs.
Conclusion
A broken PPR pipe that cannot lock water can disrupt your daily routine and lead to water wastage. By following the steps outlined in this guide, you can effectively repair the damage and restore your plumbing system’s functionality. Regular maintenance and proper installation practices will further ensure the longevity and efficiency of your PPR pipes.
FAQs
- How do I know if my PPR pipe is damaged?
Look for visible leaks, reduced water pressure, damp spots, or increased water bills as signs of damage. - Can I repair a broken PPR pipe myself?
Yes, with the right tools and knowledge, you can repair minor issues. For major damages, it’s best to consult a professional plumber. - What is heat fusion welding for PPR pipes?
Heat fusion welding involves heating the pipe ends and fittings to join them seamlessly, creating a strong, leak-proof connection. - Are temporary fixes like tape or epoxy resin reliable?
Temporary fixes can stop leaks temporarily but are not long-term solutions. Replace the damaged section as soon as possible. - How long do PPR pipes typically last?
Under optimal conditions, PPR pipes can last over 50 years, making them a durable and cost-effective choice for plumbing systems.


