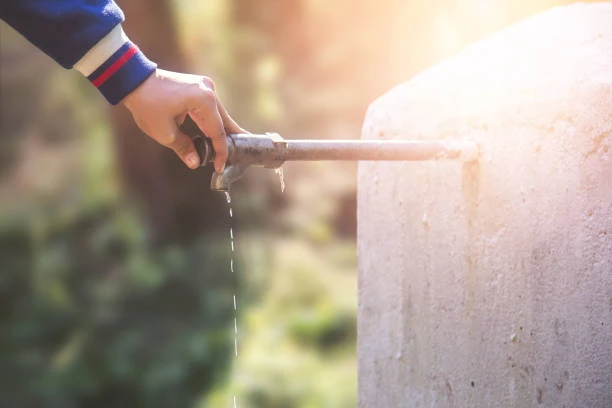
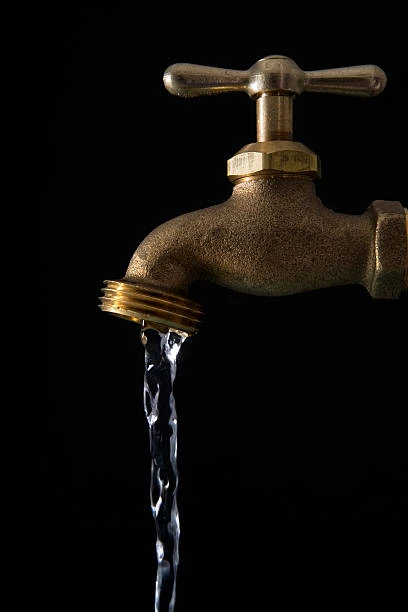
Outdoor faucets are incredibly useful for a variety of tasks around the house—from watering your garden to washing your car. But like all plumbing fixtures, outdoor faucets can experience problems over time, with the most common issue being a leaky faucet. A leaky outdoor faucet can waste water and increase your utility bills, not to mention being a general nuisance.
The good news is that you don’t always need to call in a professional plumber to fix a leaky outdoor faucet. With a little patience and the right tools, you can tackle the problem yourself and restore your faucet to full functionality.
In this guide, we’ll walk you through the step-by-step process of fixing a leaky outdoor faucet, explaining the causes of the leak, and offering helpful tips on how to prevent future leaks.
Why Is My Outdoor Faucet Leaking?
Before diving into the repair process, it’s important to understand why your outdoor faucet is leaking in the first place. Here are some common causes:
- Worn-out Washer: The most common reason for a leaky outdoor faucet is a worn-out rubber washer. Over time, washers can degrade due to exposure to the elements.
- Corroded Valve Seat: The valve seat is the part that connects the faucet stem to the spout. If it becomes corroded, it can cause leaks.
- Loose Packing Nut: If the packing nut is loose, it can lead to water leakage around the handle of the faucet.
- Damaged O-Rings: O-rings are seals that prevent water from leaking where the faucet stem and handle meet. If the O-ring becomes damaged or worn out, you may notice water dripping from the faucet handle.
- Frozen Pipes: In colder climates, pipes may freeze in the winter, causing cracks or damage to the faucet that lead to leaks.
Identifying the source of the leak will help you determine the necessary repair steps.
Tools and Materials You’ll Need
Before starting the repair process, gather the following tools and materials:
- Adjustable wrench
- Flathead screwdriver
- Replacement washers or O-rings
- Plumber’s tape (optional)
- Pipe wrench (if necessary)
- Lubricant (optional)
Once you’ve assembled your tools, you’re ready to begin the repair process.
Step-by-Step Guide to Fixing a Leaky Outdoor Faucet
Step 1: Turn Off the Water Supply
Before you begin any plumbing work, always make sure to turn off the water supply to the faucet. The shut-off valve for your outdoor faucet is usually located near the base of the faucet, often in your basement or crawl space. Turn the valve clockwise to shut off the water flow.
Next, open the outdoor faucet to relieve any pressure and drain any water left in the pipe. This will prevent a mess during the repair process.
Step 2: Inspect the Faucet Handle
The first thing you’ll notice when trying to repair a leaky outdoor faucet is the faucet handle. If the leak is coming from around the handle, it’s often an indication that the packing nut is loose or the O-ring is damaged.
Use an adjustable wrench to tighten the packing nut located around the faucet handle. If this doesn’t fix the leak, it’s likely that the O-ring needs to be replaced.
Step 3: Disassemble the Faucet
Once you’ve addressed the handle area, the next step is to disassemble the faucet. Use a flathead screwdriver or wrench to remove the handle and any decorative covers on the faucet. After that, use a wrench to unscrew the faucet stem or valve stem, which connects the valve to the faucet body.
At this point, you should be able to inspect the internal components, including the rubber washer, O-rings, and valve seat.

Step 4: Replace the Washer or O-Ring
If the washer or O-ring is worn out, you’ll need to replace it. Carefully remove the old washer or O-ring and bring it to a hardware store to ensure you purchase the correct size replacement.
For washers, make sure it fits snugly into the faucet stem. For O-rings, it’s crucial that the new one is the same size and shape as the old one. Applying a bit of lubricant to the new O-ring can help it slide into place more easily.
Step 5: Check the Valve Seat
The valve seat is the part of the faucet where the washer sits. Over time, the valve seat can corrode or wear down, causing leaks. Use a valve seat dressing tool (available at most hardware stores) to smooth out any rough patches on the seat. If the valve seat is badly corroded, it may need to be replaced entirely.
Step 6: Reassemble the Faucet
Once you’ve replaced the damaged components, reassemble the faucet. Start by reattaching the faucet stem and tightening it securely. Then, reinstall the handle and any covers that were removed earlier.
If necessary, wrap some plumber’s tape around the threads of the faucet before reattaching parts to prevent future leaks.
Step 7: Turn the Water Back On
With the faucet reassembled, it’s time to turn the water supply back on. Slowly open the outdoor faucet and check for leaks. If the faucet still drips, check to make sure all the components were properly tightened.
If the leak persists, you may need to disassemble the faucet again and inspect the parts for damage.
Tips to Prevent Future Leaks
Once your outdoor faucet is fixed, it’s essential to maintain it to prevent future leaks. Here are a few maintenance tips:
- Winterize Your Faucet: In colder climates, freezing temperatures can cause damage to your outdoor faucet. Be sure to disconnect hoses and insulate the faucet in the winter to prevent frozen pipes and cracked faucets.
- Use High-Quality Components: When replacing parts like washers, O-rings, or valve seats, always opt for high-quality materials. Cheaper parts may wear out faster and lead to future leaks.
- Check for Leaks Regularly: It’s a good idea to check your outdoor faucet periodically for any signs of leaks. Early detection can help prevent bigger issues later on.
- Shut Off the Water During Extended Periods of Inactivity: If you won’t be using your outdoor faucet for an extended period, consider turning off the water supply entirely to prevent potential leaks.
It’s always best to turn off the water supply to the faucet before starting any repair work. This prevents any water from spilling out and ensures you can work without interruptions.
By following these simple steps, you can fix that leaky outdoor faucet without the need for a professional plumber. Not only will this save you money, but it will also give you the satisfaction of completing the repair yourself!
Frequently Asked Questions (FAQ)
1. How do I know if my outdoor faucet needs to be replaced?
If you’ve replaced the washers and O-rings but the faucet continues to leak, it might be time to replace the faucet entirely. Also, if the valve seat is badly corroded or the faucet is cracked, a replacement may be necessary.
2. Can I use tape to fix a leaking outdoor faucet?
While plumber’s tape can be used to seal leaks around threads, it is not a long-term solution for fixing leaks inside the faucet. It’s best to replace the worn-out parts like washers and O-rings for a more permanent fix.
3. Why is my outdoor faucet still leaking after I replaced the washer?
If your outdoor faucet is still leaking after replacing the washer, the problem could be a corroded valve seat or a damaged faucet stem. Make sure to inspect these parts and replace them as needed.
4. How can I prevent my outdoor faucet from freezing in the winter?
To prevent your outdoor faucet from freezing, disconnect any hoses and drain the faucet. You can also use an outdoor faucet cover or insulate the faucet with foam to protect it from cold temperatures.
5. Can I fix a leaking outdoor faucet without turning off the main water supply?


