Winterizing your outdoor faucet is an essential part of home maintenance to prevent plumbing damage during the colder months. When temperatures drop below freezing, water inside outdoor faucets and connected pipes can freeze, causing pipes to crack or burst. The consequences can be costly, including water damage, expensive repairs, and higher utility bills. Fortunately, winterizing your outdoor faucet is a simple process that can save you from these headaches.
In this article, we will explain how to winterize your outdoor faucet, covering everything from turning off the water supply to insulation techniques. We’ll also provide you with expert tips to ensure your faucet stays safe during winter and that you’re ready for the next season.
Why Winterizing an Outdoor Faucet is Important
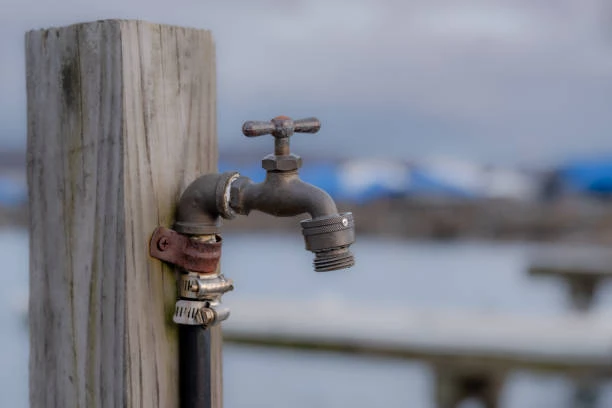
Before diving into the process of winterizing your outdoor faucet, it’s important to understand why it’s necessary. Outdoor faucets, also known as hose bibs, are vulnerable to freezing because they are exposed to the outside air, which can dip below freezing during the winter months. When the water inside a faucet and the connecting pipes freezes, it expands, which can crack or burst pipes, leading to water leaks and potential damage to your home’s structure.
Even if you don’t live in an area with extreme cold temperatures, periodic freezing spells can still cause issues. The good news is that winterizing your outdoor faucet is an easy task that can save you the trouble of costly repairs and help you avoid water waste.
Step-by-Step Guide to Winterizing an Outdoor Faucet
1. Shut Off the Water Supply to the Outdoor Faucet
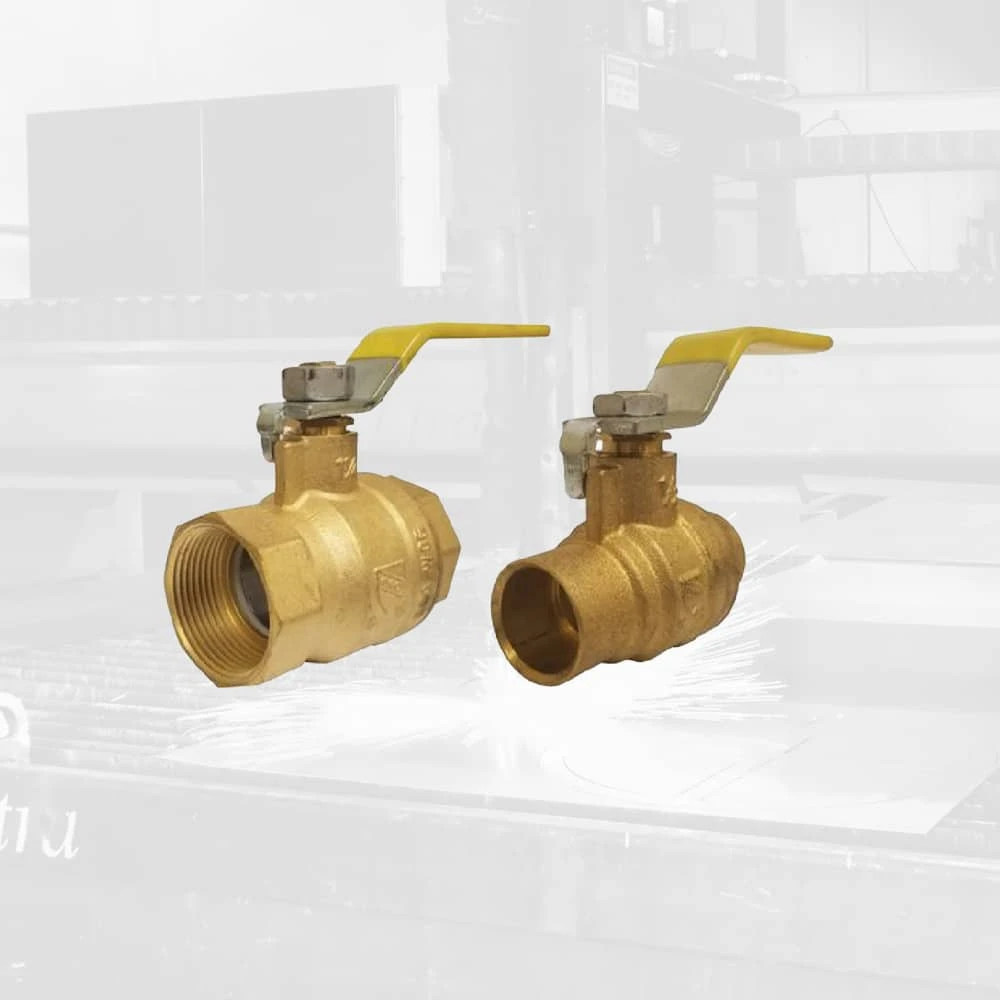
The first and most important step in winterizing an outdoor faucet is turning off the water supply. Most homes have an interior shut-off valve that controls the water flow to the outdoor faucet. This valve is typically located inside the house, near the faucet or in a basement, crawl space, or utility room.
To turn off the water supply:
- Locate the shut-off valve and turn it clockwise until it is fully closed.
- Open the outdoor faucet to allow any remaining water in the pipe to drain out.
By shutting off the water supply, you prevent water from sitting in the faucet and pipes, which could freeze and cause damage.
2. Drain the Remaining Water from the Faucet
After shutting off the water supply, the next step is to drain the remaining water from the faucet and pipes. This is crucial because any water left behind can freeze and expand, potentially cracking the pipe.
To drain the water:
- Leave the outdoor faucet open after turning off the water supply. This allows any water still in the pipe to drain out.
- If you have a hose connected to the faucet, disconnect it and drain the hose completely before storing it for the winter.
By allowing the faucet to remain open and draining any residual water, you reduce the risk of frozen pipes.
3. Insulate the Faucet
For added protection, especially in areas where temperatures can drop well below freezing, it’s a good idea to insulate your outdoor faucet. Insulating your faucet helps keep it safe from freezing, even if the temperatures dip unexpectedly.

There are a few different methods for insulating your faucet:
- Faucet Covers: One of the easiest ways to insulate your outdoor faucet is by using a foam faucet cover. These covers fit over the faucet and help protect it from the cold. They are inexpensive and easy to install.
- Pipe Insulation: If your outdoor faucet is attached to exposed pipes, consider insulating the pipes as well. You can use foam pipe insulation or heat tape to wrap around the pipes, preventing them from freezing.
- Blankets or Towels: If you don’t have a foam cover or pipe insulation, you can use old blankets, towels, or even plastic to cover the faucet and surrounding pipes. Be sure to secure the material in place so it doesn’t blow away in the wind.
4. Install a Frost-Free Faucet (Optional)
If you want to take the winterization process a step further, consider installing a frost-free outdoor faucet. A frost-free faucet has a longer stem that extends into the interior of the house, where the temperatures remain above freezing. When you turn off the valve inside, the water drains out of the faucet, making it much less likely to freeze.
Although frost-free faucets are more expensive than traditional models, they can be a worthwhile investment for homeowners in colder climates. Once installed, a frost-free faucet requires minimal winterization, making it easier to maintain.
5. Check for Leaks and Damage
Before the cold weather sets in, take some time to inspect your outdoor faucet for any signs of damage or leaks. If you notice any cracks, corrosion, or leaks, it’s important to repair them before the temperatures drop. If the faucet is beyond repair, replace it with a new one to avoid any issues during the winter.
If your faucet has been subjected to freezing temperatures in previous years, check it thoroughly for signs of damage. Sometimes, a crack or leak may not be immediately visible, but it can lead to significant problems once the faucet is exposed to cold weather again.
6. Disconnect and Store Hoses
One of the simplest steps in winterizing your outdoor faucet is disconnecting and properly storing your garden hoses. Hoses can trap water inside, and when temperatures drop, that water can freeze, potentially causing the hose to crack. Additionally, leaving hoses connected to your faucet can increase the risk of freezing in the faucet itself.
To properly store your hoses:
- Disconnect the hose from the outdoor faucet and drain it completely.
- Store the hose in a shed, garage, or other cool, dry place to prevent damage.
If you don’t have space to store your hoses indoors, consider coiling them loosely and covering them with a weather-resistant tarp or blanket.
Additional Tips for Winterizing Outdoor Faucets
- Be proactive: Winterize your outdoor faucet before the first frost of the season. Ideally, you should take these steps in early fall when temperatures start to dip consistently below 50°F (10°C).
- Check your local weather: If you live in an area with harsh winters, it’s always a good idea to check long-term weather forecasts for freeze warnings. Severe cold snaps can happen unexpectedly, so being proactive will help protect your home.
- Professional help: If you’re unsure about the process or don’t have access to a shut-off valve inside your house, consider hiring a professional plumber. They can help ensure your outdoor faucet is properly winterized and inspect your entire plumbing system for potential issues.
Conclusion
Winterizing your outdoor faucet is a simple but important task that can save you from expensive repairs and water damage during the cold winter months. By turning off the water supply, draining the faucet, insulating the faucet and pipes, and taking the additional step of installing a frost-free faucet, you can protect your home from the potential dangers of frozen plumbing.
Although winterizing may seem like a small task, it’s essential for homeowners in areas with freezing temperatures. By taking these steps, you ensure that your outdoor faucets and plumbing remain safe and ready for use when spring arrives.
Frequently Asked Questions (FAQs)
How do I know if my outdoor faucet is frost-free?
A frost-free faucet typically has a longer stem that extends into your home, where the temperature remains above freezing. When you turn off the valve inside, the water drains from the faucet, preventing freezing. You can identify a frost-free faucet by checking the valve location—it should be inside your home or a heated space.
Can I winterize my outdoor faucet myself?
Yes, winterizing your outdoor faucet is a straightforward task that most homeowners can handle themselves. Simply turn off the water supply, drain the faucet, and insulate it to prevent freezing.
What happens if I forget to winterize my outdoor faucet?
If you forget to winterize your outdoor faucet and temperatures drop below freezing, the water in the faucet and pipes could freeze. This can lead to cracked or burst pipes, resulting in water damage and costly repairs.
When should I winterize my outdoor faucet?
It’s best to winterize your outdoor faucet before the first frost. In general, aim to complete the process by mid-fall, when temperatures start consistently falling below 50°F (10°C).
Can I leave my hose connected to the faucet in winter?
No, it’s important to disconnect your hose from the faucet and store it for the winter. A hose left connected to the faucet can trap water inside, which can freeze and damage both the hose and the faucet.


