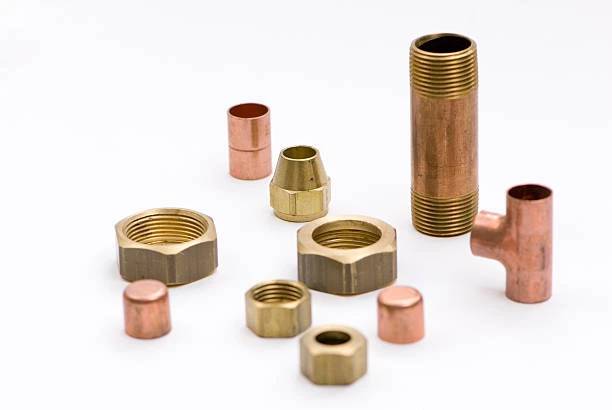
Copper fittings are widely used in plumbing due to their durability and resistance to corrosion. However, pinhole leaks can develop over time, leading to water damage and wasted resources. While traditional methods of repairing copper fittings often involve soldering, there are effective ways to fix these leaks without the need for solder. This article will guide you through the process of repairing pinhole leaks in copper fittings, ensuring your plumbing remains functional and leak-free.
Understanding Pinhole Leaks
Pinhole leaks in copper fittings are small holes that develop over time, often due to corrosion or wear. They can occur in various places, including joints, elbows, and straight runs of piping. These leaks may be tiny but can lead to significant water loss and damage if not addressed promptly.
Common Causes of Pinhole Leaks
- Corrosion: Chemical reactions between the copper and the water or soil can cause corrosion over time, leading to pinhole leaks.
- Water Quality: High acidity or high mineral content in the water can accelerate the corrosion process, particularly in older pipes.
- Improper Installation: Poorly installed fittings can experience stress and wear, increasing the likelihood of leaks.
- Temperature Fluctuations: Changes in temperature can cause the copper to expand and contract, contributing to the formation of pinholes.
Materials Needed for Repairing Pinhole Leaks
Before starting the repair, gather the following materials:
- Pipe cleaning cloth or sandpaper
- Epoxy putty or pipe repair tape
- Pipe cutter (if necessary)
- Adjustable wrench
- Bucket or towels to catch drips
- Safety glasses and gloves
Step-by-Step Guide to Repairing Pinhole Leaks
Step 1: Locate the Leak
Start by identifying the exact location of the pinhole leak. Look for signs of water damage, moisture, or discoloration on the pipes. If the leak is not immediately visible, you may need to turn off the water supply and dry the area to find it more easily.
Step 2: Turn Off the Water Supply
Before making any repairs, ensure that the water supply to the affected area is turned off. This will prevent further water flow and minimize mess during the repair process.
Step 3: Clean the Area
Use a cloth or sandpaper to clean the area around the leak. Remove any dirt, grease, or corrosion to ensure that the repair material adheres properly. The surface should be dry and free of debris for the best results.

Step 4: Choose Your Repair Method
There are two effective methods for repairing pinhole leaks in copper fittings without soldering: epoxy putty and pipe repair tape.
Option A: Using Epoxy Putty
- Prepare the Putty: Cut off a suitable amount of epoxy putty and knead it in your hands until it becomes pliable.
- Apply the Putty: Press the putty directly over the pinhole leak, ensuring that it covers the area completely. Smooth it out for a seamless finish.
- Let It Cure: Follow the manufacturer’s instructions for curing time, typically ranging from 30 minutes to a few hours. Ensure that the repair is completely hardened before turning the water back on.
Option B: Using Pipe Repair Tape
- Cut the Tape: Cut a piece of pipe repair tape that is long enough to cover the leak and extend a few inches beyond it.
- Wrap the Tape: Starting about 2 inches from the leak, wrap the tape tightly around the pipe, overlapping each layer as you go. Ensure that the tape covers the entire area of the leak.
- Apply Pressure: After wrapping, press down firmly on the tape to ensure a tight seal. Most pipe repair tapes will bond and harden quickly, creating a strong, waterproof seal.
Step 5: Turn the Water Supply Back On
Once the repair material has cured, slowly turn the water supply back on and check for leaks. Monitor the repaired area for a few hours to ensure that the leak has been effectively sealed.
Step 6: Monitor for Future Issues
After repairing the leak, it’s essential to keep an eye on the area for any signs of new leaks or corrosion. Regular maintenance and inspections can help prevent future problems with your copper fittings.
Preventing Pinhole Leaks in Copper Fittings
- Regular Inspections: Check your plumbing system regularly for signs of wear or corrosion, especially in older homes.
- Water Quality Management: If you have concerns about your water quality, consider using water filtration systems to reduce acidity and mineral content.
- Proper Installation: Ensure that any new plumbing work is done by qualified professionals using proper techniques and materials.
Conclusion
Repairing pinhole leaks in copper fittings without soldering is a straightforward process that can save homeowners time and money. By using epoxy putty or pipe repair tape, you can effectively seal leaks and maintain the integrity of your plumbing system. Remember to take preventative measures to avoid future leaks and keep your plumbing in top condition.
FAQs
- Can I repair pinhole leaks in copper fittings without turning off the water?
It’s best to turn off the water supply to prevent further leaks and ensure a clean repair. - How long does epoxy putty take to cure?
Curing times vary, but it typically takes about 30 minutes to a few hours. Always check the manufacturer’s instructions. - Is pipe repair tape a permanent solution?
While pipe repair tape can provide a strong temporary fix, it’s advisable to monitor the repair and consider permanent solutions if leaks persist. - Can pinhole leaks lead to more significant problems?
Yes, if not addressed, pinhole leaks can lead to water damage, mold growth, and more severe plumbing issues. - What should I do if the leak is too large for these methods?
If the leak is substantial or if you’re unsure about your repair skills, it’s best to contact a professional plumber for assistance.


