Soldering copper pipe and fittings is a valuable skill for DIY enthusiasts and homeowners alike. Whether you’re looking to repair a leaky pipe, install a new plumbing fixture, or simply gain a useful skill, mastering the art of soldering can save you time and money. In this article, we’ll guide you through the process of soldering copper pipe and fittings, covering the necessary tools, techniques, and safety precautions.
Why Choose Copper Pipe and Fittings?
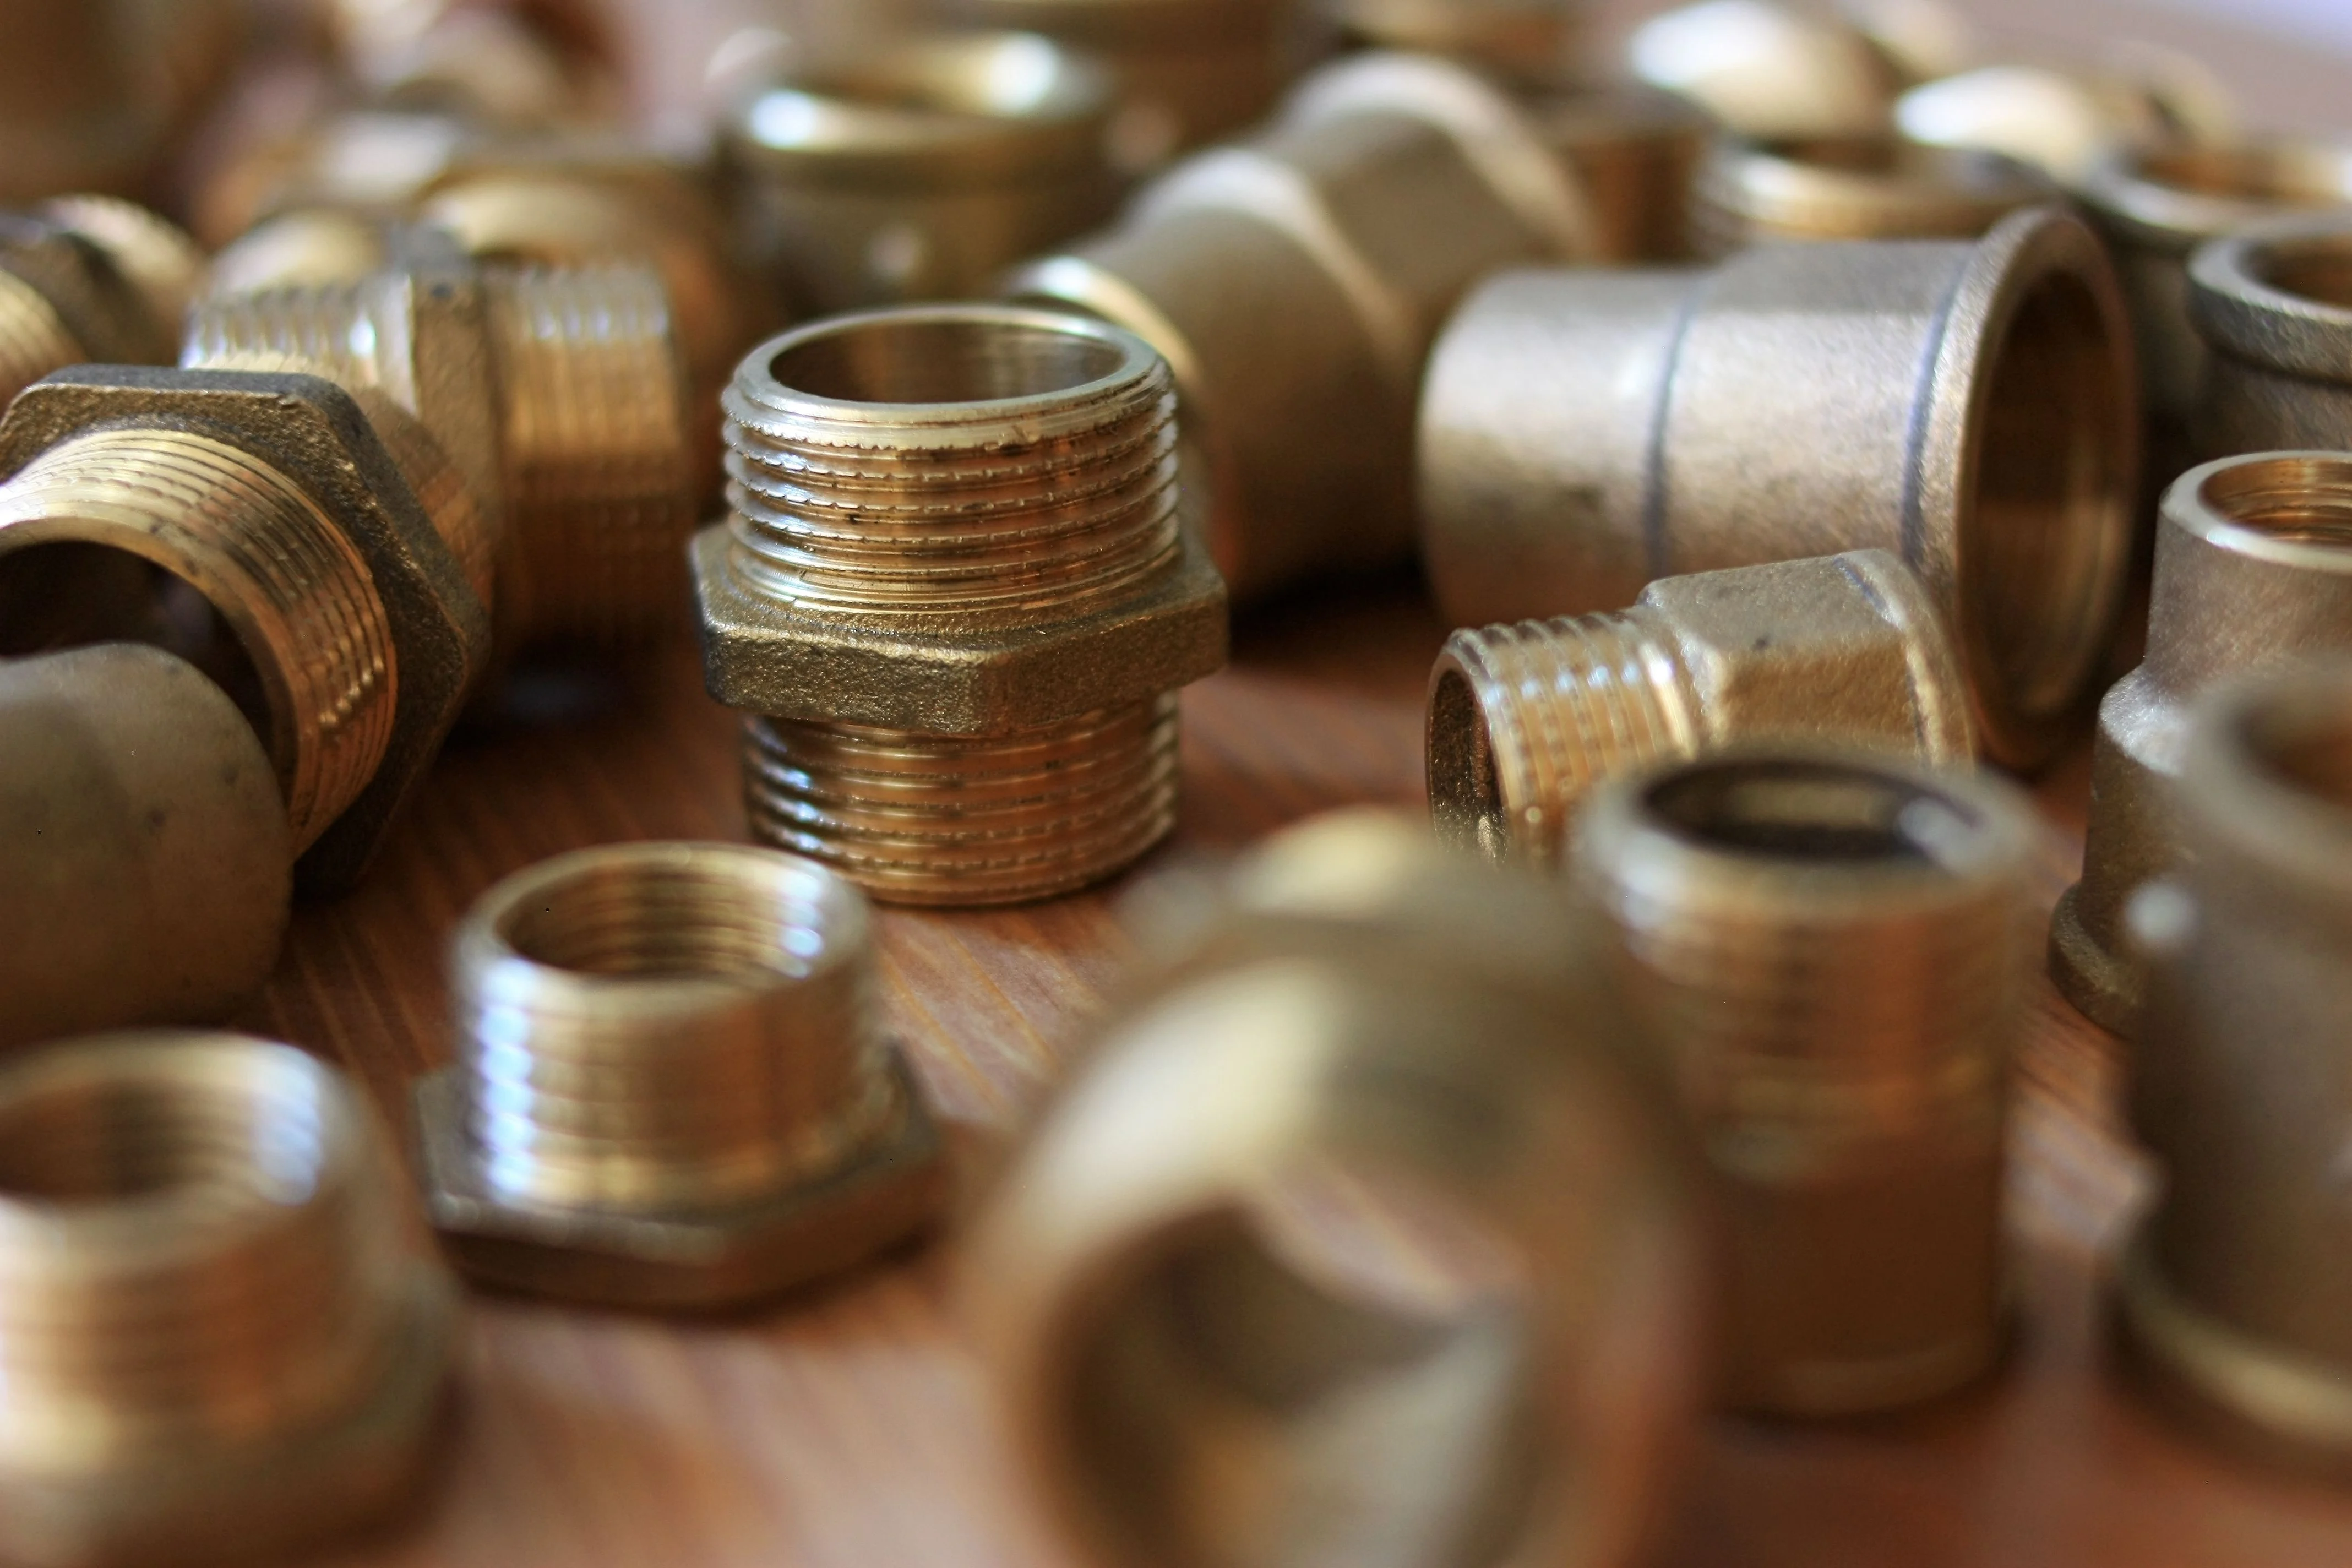
Copper pipe and fittings are widely used in plumbing systems due to their durability, resistance to corrosion, and excellent thermal conductivity. Here are some reasons why copper is a popular choice:
- Durability: Copper can last for decades when properly installed.
- Corrosion Resistance: Unlike other materials, copper does not rust, making it ideal for water supply lines.
- Health Benefits: Copper has antimicrobial properties, reducing the risk of bacteria in your water supply.
Essential Tools for Soldering Copper Pipe and Fittings
Before you begin, it’s essential to gather the right tools and materials. Here’s what you’ll need:
- Copper Pipe and Fittings: Ensure you have the correct diameter and type for your project.
- Pipe Cutter: A pipe cutter will help you achieve clean, straight cuts.
- Deburring Tool: After cutting, use a deburring tool to smooth the edges.
- Propane Torch: A propane torch is used to heat the joint for soldering.
- Lead-Free Solder: Choose lead-free solder for safety and compliance with plumbing codes.
- Flux: This substance helps the solder flow and bond to the copper.
- Soldering Brush: For applying flux to the pipe and fittings.
- Safety Gear: Wear safety goggles and gloves to protect yourself.
Step-by-Step Guide to Soldering Copper Pipe and Fittings
1. Prepare the Pipes and Fittings
Start by measuring and cutting the copper pipe to the desired length using a pipe cutter. Ensure the cuts are straight for a good seal. After cutting, use a deburring tool to remove any burrs or sharp edges from the pipe. This step is crucial for a proper fit.
2. Clean the Surfaces
Use a soldering brush to clean the ends of the copper pipes and the inside of the fittings. The surfaces must be free of dirt, oxidation, or any contaminants to ensure a strong bond.
3. Apply Flux
Once the surfaces are clean, apply a thin layer of flux to both the pipe and the fitting. Flux helps to prevent oxidation during heating and allows the solder to flow evenly.
4. Assemble the Joint
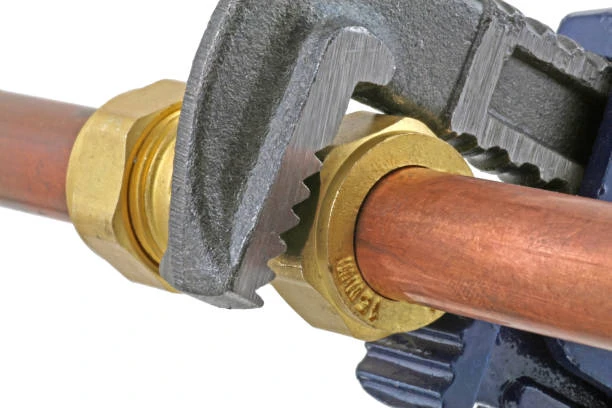
Insert the pipe into the fitting, ensuring it is fully seated. You should see a small gap between the fitting and the pipe, which is normal.
5. Heat the Joint
Using your propane torch, apply heat to the joint evenly. Keep the flame moving to avoid overheating any one spot. You’ll know it’s ready when the flux begins to bubble.

6. Apply the Solder
Once the joint is hot enough, touch the solder to the joint. The solder should melt and flow into the joint, filling the gap. If the solder does not flow, continue heating until it does.
7. Allow to Cool
After you’ve applied the solder, remove the torch and let the joint cool naturally. Avoid touching it until it’s cool to the touch, as this can weaken the bond.
8. Clean the Joint
Once the joint has cooled, wipe away any excess flux with a damp cloth. This step is important to prevent corrosion.
9. Test the Connection
Before putting your system back into service, it’s wise to test the joint. Turn on the water supply and check for leaks. If there are no leaks, your soldering job is a success!
Safety Precautions
Soldering involves heat and potentially hazardous materials, so it’s vital to follow safety precautions:
- Work in a Well-Ventilated Area: Ensure there is good airflow to avoid inhaling fumes.
- Wear Protective Gear: Always wear safety goggles and gloves.
- Keep Flammable Materials Away: Remove any flammable items from your workspace before you begin.
- Be Mindful of Heat: The torch can ignite nearby materials, so keep your work area tidy.
Common Issues and Troubleshooting
Even seasoned DIYers can run into issues when soldering. Here are some common problems and how to address them:
- Solder Not Adhering: This can happen if the surfaces were not cleaned properly or the joint wasn’t heated enough.
- Leaking Joints: If you see water seeping from the joint, it may not have been heated adequately or there may not have been enough solder applied.
- Overheating the Pipe: Be cautious of overheating, which can damage the pipe and fittings. Keep the flame moving and don’t linger in one spot.
Conclusion
Soldering copper pipe and fittings is a skill that can empower you to tackle various plumbing projects around your home. With the right tools, techniques, and safety measures, you can create strong, leak-proof connections. Remember, practice makes perfect, so don’t hesitate to hone your skills on small projects before taking on larger ones.
Frequently Asked Questions (FAQs)
- What type of solder should I use for copper pipes?
- Use lead-free solder for safety and to comply with plumbing codes.
- Can I solder copper pipes without flux?
- It’s not recommended, as flux helps the solder flow and bond effectively.
- How do I know if my solder joint is good?
- A good joint should be smooth and shiny, with no visible gaps or leaks.
- What should I do if I notice a leak after soldering?
- Turn off the water supply, dry the joint, and reheat to add more solder.
- Is soldering copper pipes safe for plumbing systems?
- Yes, as long as you use lead-free solder and follow proper safety precautions.


