1. Introduction
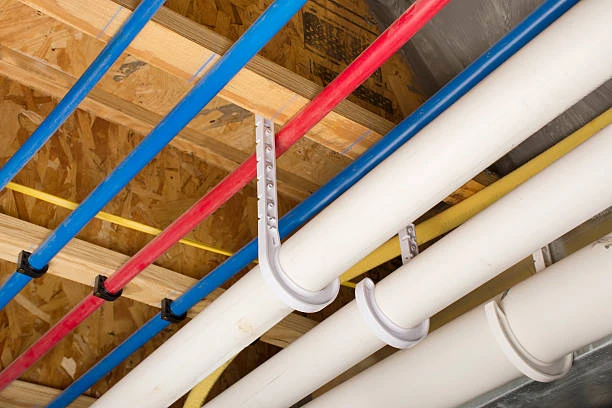
PEX pipes are a popular choice for plumbing and heating systems due to their flexibility, resistance to corrosion, and ease of installation. Knowing how to connect PEX pipes and fittings correctly is essential for ensuring a leak-free and efficient system.
2. Tools and Materials Needed
Before you begin, gather the following tools and materials:
- PEX pipe
- PEX fittings (crimp, push-fit, or expansion)
- PEX cutter
- Crimping tool (if using crimp fittings)
- Deburring tool
- Measuring tape
- Marker (for measurements)
3. Types of PEX Fittings
3.1 Crimp Fittings
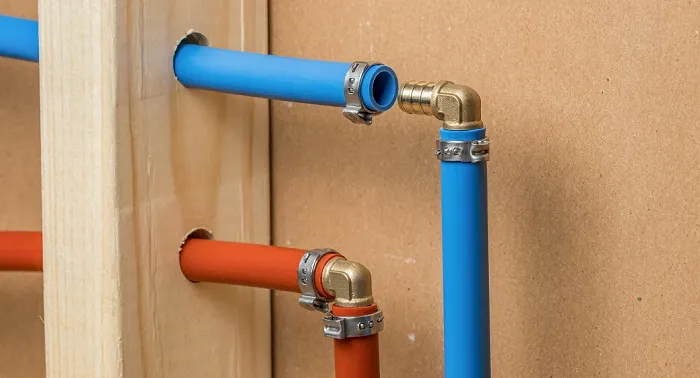
Crimp use a metal ring to secure the fitting to the PEX pipe. This method is one of the most common for connecting PEX.
3.2 Push-Fit Fittings
Push-fit fittings allow for quick and easy connections without the need for tools. Simply push the pipe into the fitting to create a secure seal.
3.3 Expansion Fittings
Expansion fittings involve expanding the end of the that to fit over the fitting, creating a tight seal.
4. Step-by-Step Connection Methods
4.1 Connecting Using Crimp Fittings
- Measure and Cut: Use the measuring tape to determine the length of PEX pipe needed. Cut the pipe straight using a PEX cutter.
- Deburr the Edge: Remove any burrs from the cut edge to ensure a smooth connection.
- Slide on the Crimp Ring: Before inserting the fitting, slide a crimp ring onto the pipe about 1-2 inches from the end.
- Insert the Fitting: Push the fitting into the end of the pipe until it reaches the proper depth.
- Crimp the Ring: Position the crimping tool over the ring and squeeze until it is secure. Check that the ring has formed a complete circle around the pipe.
- Test the Connection: Turn on the water supply and check for leaks.
4.2 Connecting Using Push-Fit Fittings
- Measure and Cut: Cut the PEX pipe to the required length.
- Deburr the Edge: Smooth the cut edge to avoid damaging the fitting.
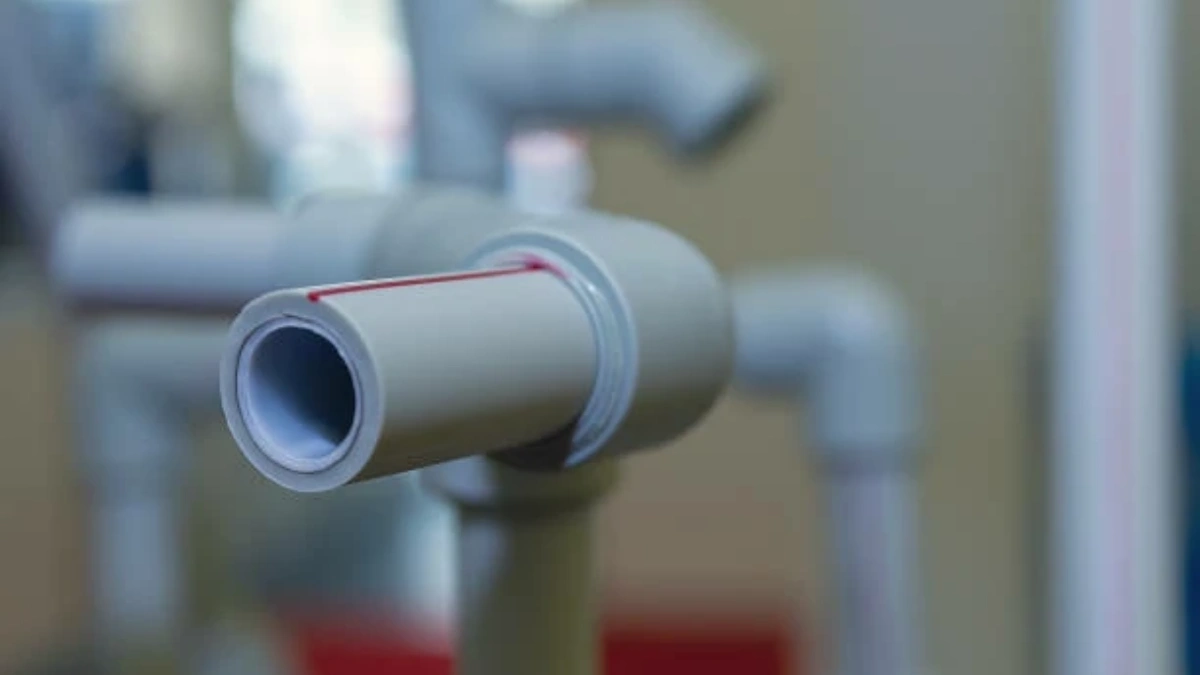
- Push the Fitting: Simply insert the pipe into the push-fit fitting until it reaches the stop inside the fitting.
- Test the Connection: Turn on the water supply and inspect for leaks.
4.3 Connecting Using Expansion Fittings
- Measure and Cut: Cut the PEX pipe as needed.
- Deburr the Edge: Ensure the end is smooth and free of burrs.
- Expand the Pipe: Use the expansion tool to expand the end of the pipe.
- Insert the Fitting: Quickly insert the fitting into the expanded end of the pipe.
- Allow to Contract: Wait a few seconds for the pipe to contract around the fitting.
- Test the Connection: Check for leaks after turning on the water.
5. Common Mistakes to Avoid
- Not Deburring: Failing to remove burrs can damage fittings and lead to leaks.
- Incorrect Pipe Insertion: Ensure the pipe is pushed in all the way for a secure connection.
- Forgetting to Test for Leaks: Always check connections after installation to avoid issues later.
6. Maintenance and Inspection
- Regular Inspections: Periodically check for leaks and ensure fittings are secure.
- Replace Damaged Fittings: If you notice any signs of wear or damage, replace fittings immediately.
- Keep Pipes Insulated: In colder climates, insulating PEX pipes can prevent freezing and damage.
7. Conclusion
Connecting PEX pipes and fittings is a simple yet essential skill for anyone involved in plumbing projects. By using the right tools and following proper techniques, you can create a reliable and efficient system.
8. FAQs
1. Can PEX be used for hot water applications?
Yes, PEX can handle hot water and is often used in both hot and cold water systems.
2. How long does PEX last?
When installed correctly, PEX can last over 50 years.
3. Is it possible to connect PEX to metal pipes?
Yes, you can use appropriate fittings to connect PEX to copper or other metal pipes.
4. What should I do if I encounter a leak in a PEX connection?
Inspect the fitting and re-crimp or replace it as necessary.
5. Are there any special considerations for using PEX outdoors?
While PEX is resistant to many elements, it should be protected from prolonged UV exposure to prevent damage.


