Introduction
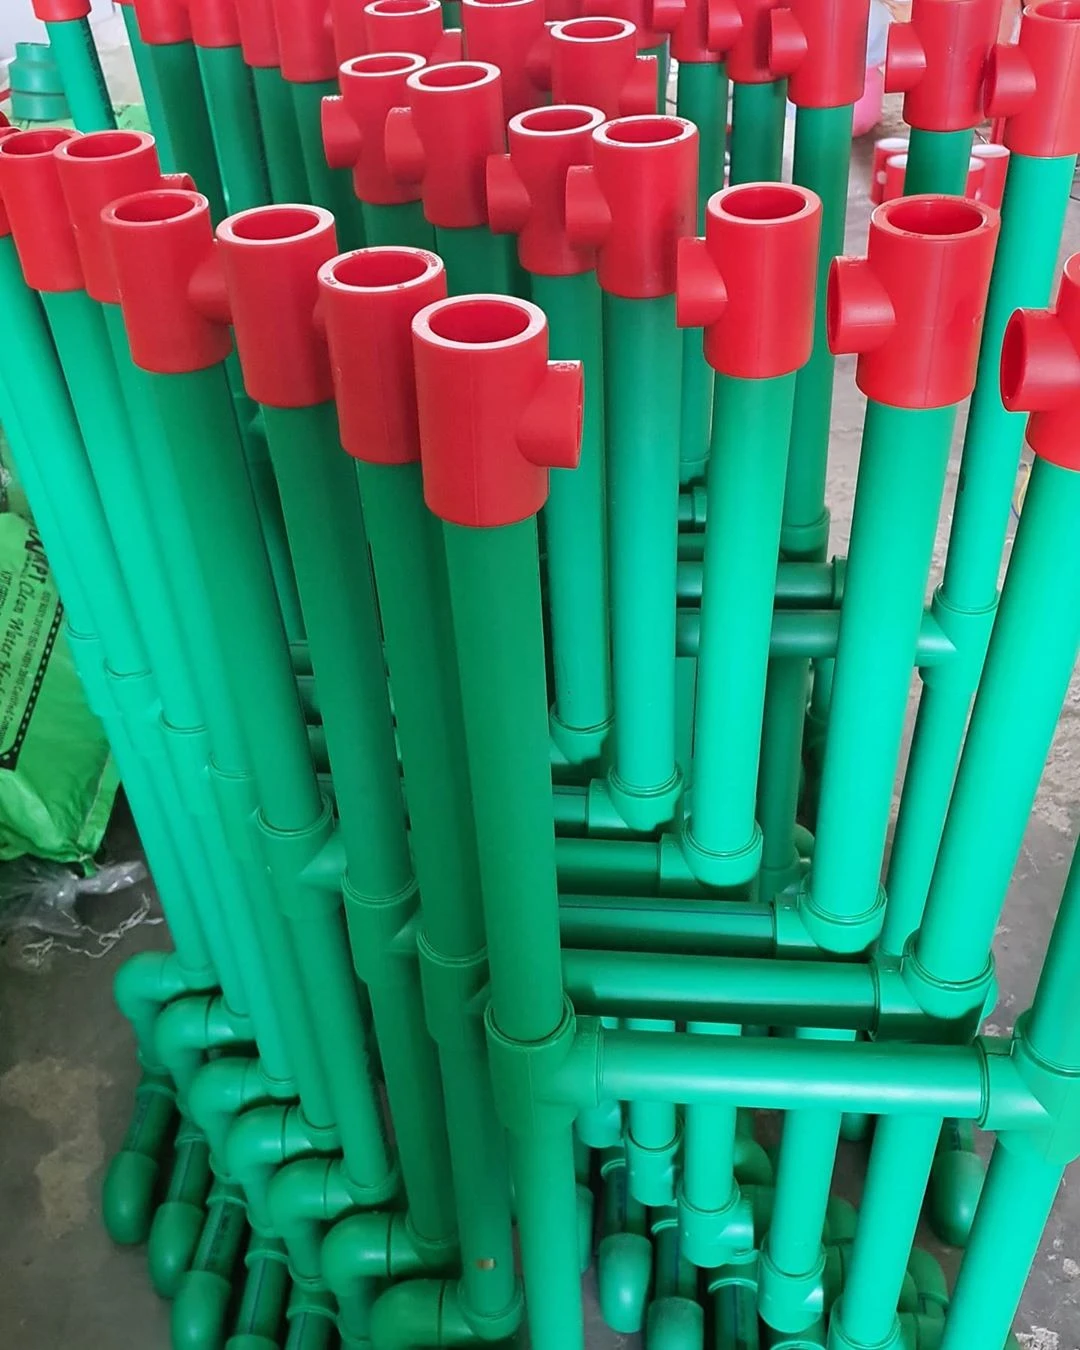
PPR pipe and fitting DIN 8077/8078 have become a popular choice for plumbing and industrial applications due to their durability, resistance to corrosion, and ease of installation. This guide will walk you through the process of installing PPR pipes and fittings, covering everything from preparation to finishing touches to ensure a successful and long-lasting installation.
1. Understanding PPR Pipes and Fittings
1.1 What Are PPR Pipes?
PPR pipes are made from polypropylene, known for its high resistance to chemicals and temperatures. These pipes are used in various applications, including hot and cold water systems, heating, and industrial processes.
1.2 Types of PPR Fittings
PPR fittings come in various shapes and sizes, including elbows, tees, couplings, and reducers. These fittings are designed to connect sections of pipe and facilitate changes in direction or pipe size.
2. Tools and Materials Needed
2.1 Essential Tools
- Pipe Cutter: For clean and accurate cuts on PPR pipes.
- Heat Fusion Machine: Used for melting and joining pipe ends.
- Deburring Tool: For smoothing cut edges.
- Measuring Tape: To ensure accurate pipe lengths.
- Clamps and Supports: To hold pipes in place during installation.
2.2 Materials Required
- PPR Pipes: Ensure they are of the correct diameter and length for your project.
- PPR Fittings: Select fittings that match the pipe size and application.
- Pipe Insulation: Optional, but recommended for temperature control and protection.
3. Preparing for Installation
3.1 Planning the Layout
Before beginning the installation, plan the layout of your pipes and fittings. Consider the route of the pipes, the placement of fittings, and the location of supports.
3.2 Measuring and Cutting
Measure the length of pipe needed and use a pipe cutter to make precise cuts. Ensure the cuts are clean and square to facilitate proper fusion.
3.3 Deburring the Pipes
After cutting, use a deburring tool to remove any rough edges from the pipe ends. This step is crucial for creating a smooth surface that will fuse effectively.
4. Joining PPR Pipes and Fittings
4.1 Heating the Pipe Ends
Use a heat fusion machine to heat the ends of the pipes and fittings. The machine will bring the surfaces to the appropriate temperature for joining. Follow the manufacturer’s guidelines for heating times and temperatures.
4.2 Fusing the Pipes and Fittings
Once the pipe ends and fittings are heated, quickly and carefully join them together. Align the pipes and fittings properly, as the fusion process requires accurate placement. Hold them in position until the joint cools and solidifies.
4.3 Checking for Leaks
After the pipes and fittings have cooled, inspect the joints for any signs of leaks. It’s important to check that all connections are secure and properly fused.

5. Installing PPR Pipes
5.1 Securing the Pipes
Use clamps and supports to secure the pipes along their route. Proper support is essential to prevent sagging or movement that can stress the joints.
5.2 Insulating the Pipes
If the pipes are used in an environment with extreme temperatures, consider adding insulation to protect them from thermal expansion or contraction and to improve energy efficiency.
5.3 Connecting to Existing Systems
If integrating PPR pipes with existing systems, use appropriate adapters and fittings to ensure a secure connection. Make sure to match the PPR pipe diameter with the existing pipe sizes.
6. Testing the Installation
6.1 Pressure Testing
Conduct a pressure test to ensure the system is leak-free and that the pipes and fittings can handle the operational pressures. Follow recommended pressure testing procedures and safety guidelines.
6.2 Final Inspections
Perform a thorough inspection of the installation. Check all joints, supports, and connections to ensure everything is in place and functioning correctly.
7. Common Challenges and Solutions
7.1 Handling and Storage Issues
Ensure PPR pipes are stored in a cool, dry place to prevent deformation. Handle them carefully to avoid damage before installation.
7.2 Dealing with Misalignment
If pipes or fittings are misaligned during installation, gently adjust them before the fusion process completes. Proper alignment is crucial for a successful joint.
7.3 Troubleshooting Leaks
If leaks occur after installation, identify whether they are due to improper fusion or damaged pipes. Repair or replace affected sections as needed.
8. Maintenance Tips
8.1 Regular Inspections
Regularly inspect the installed PPR pipes for any signs of wear, damage, or leaks. Early detection of issues can help prevent more serious problems.
8.2 Cleaning and Care
Keep the pipes clean and free from debris. Avoid using abrasive cleaners that could damage the pipe surface.
8.3 Replacing Damaged Sections
If any sections of the pipe are damaged, replace them promptly to avoid disruptions in the system.
9. Conclusion
Proper installation of PPR pipe and fittings is essential for ensuring a reliable and efficient plumbing system. By following the correct procedures and paying attention to detail, you can achieve a successful installation that will provide long-term performance and durability.